Duration
9 DaysDeparture
DailyGroup Size
Private / CustomStyle
Guided Mountain TrekThe Northern Circuit route is one of the best routes on Kilimanjaro, offering nearly 360 degrees of beautiful scenery including the quiet, rarely visited northern slopes. As the longest route on Kilimanjaro, the Northern Circuit also has the most acclimatization time and the highest summit success rate. Thus, the Northern Circuit route is highly recommended.
The route approaches Mount Kilimanjaro from the west, beginning with a long drive from Moshi to Londorossi Gate. From there, the first two days are spent trekking through the rainforest to Shira Ridge, before crossing the Shira Plateau. The route then heads north and circles clockwise from Moir Hut to Buffalo Camp to School Hut, before summiting from the east. Descent is made via the Mweka route.
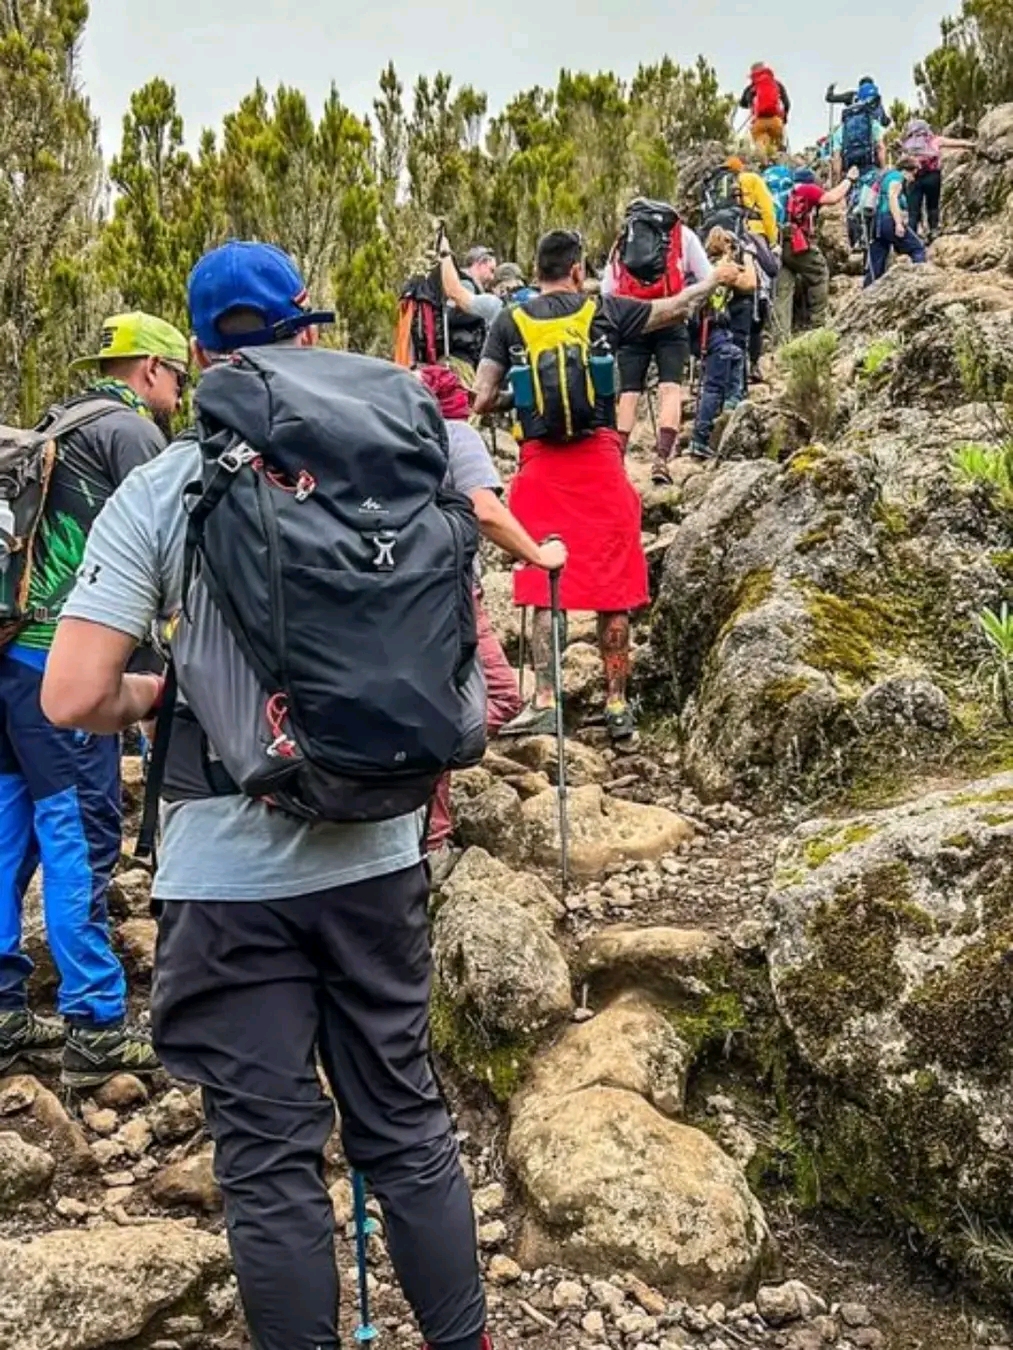
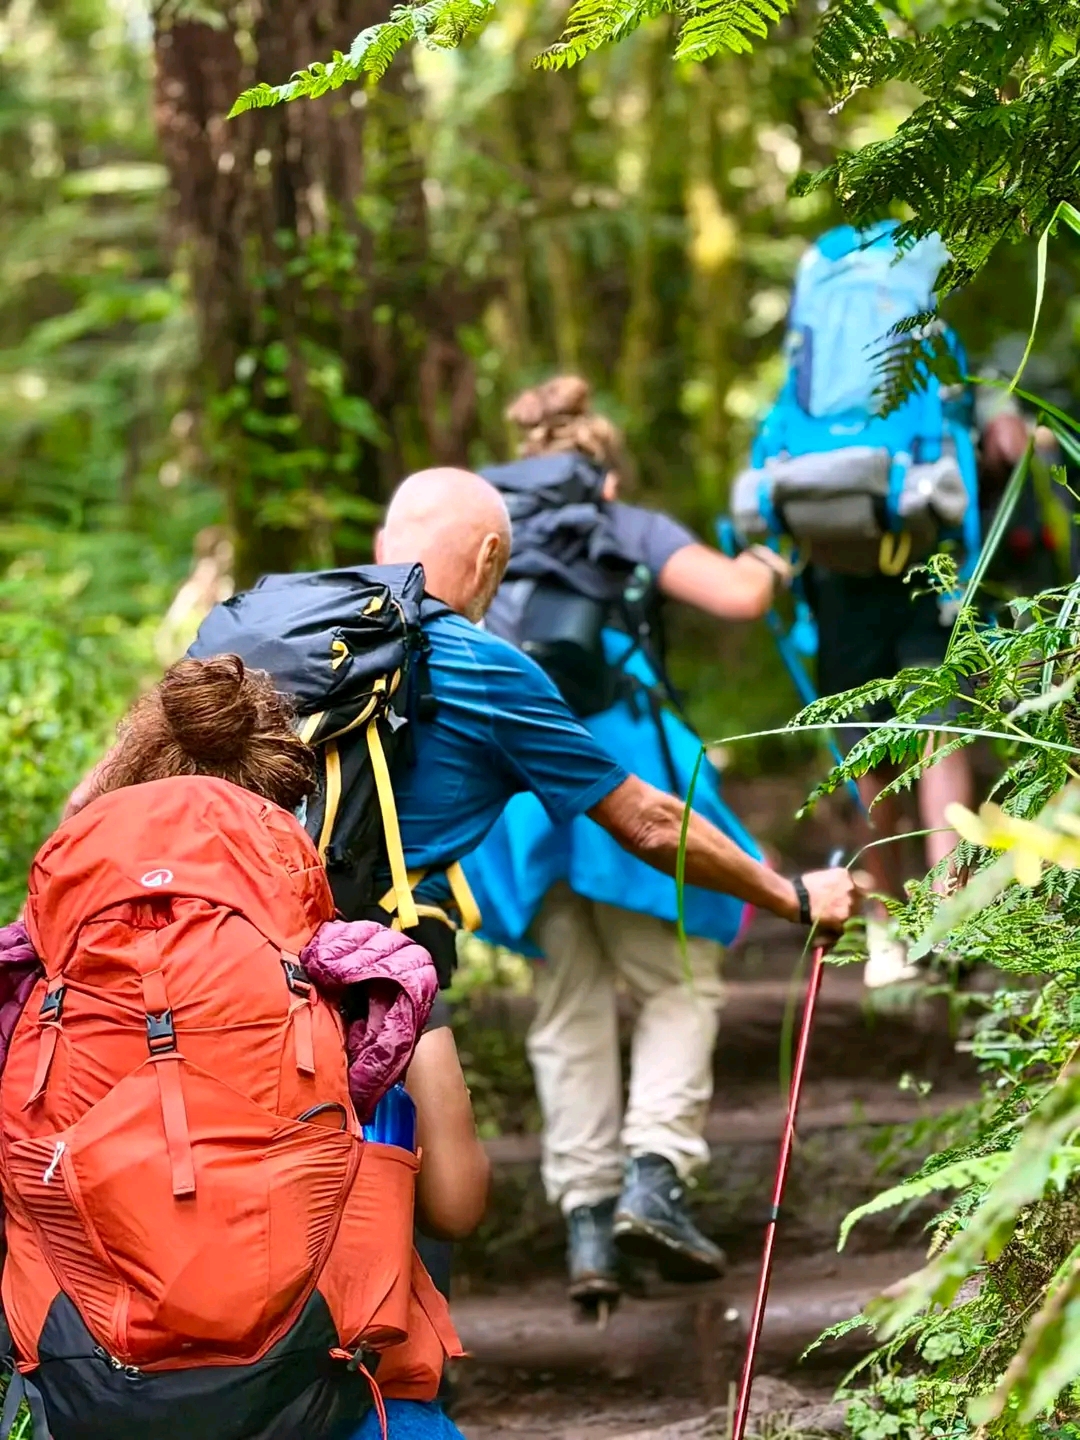
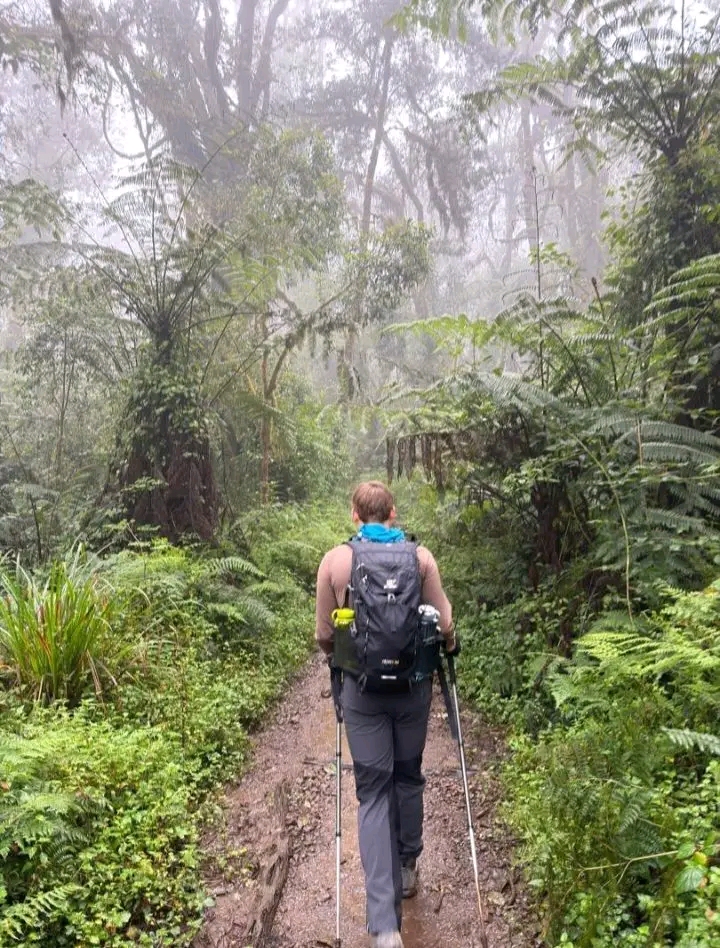
We depart Moshi for Londorossi Gate, which takes about 4 hours, where you will complete entry formalities. Then drive to the Lemosho trailhead. Upon arrival at trailhead, we begin hiking through undisturbed forest which winds to the first camp site.
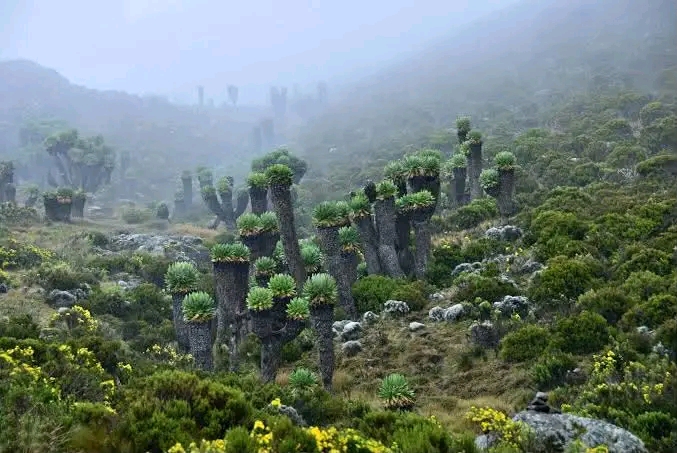
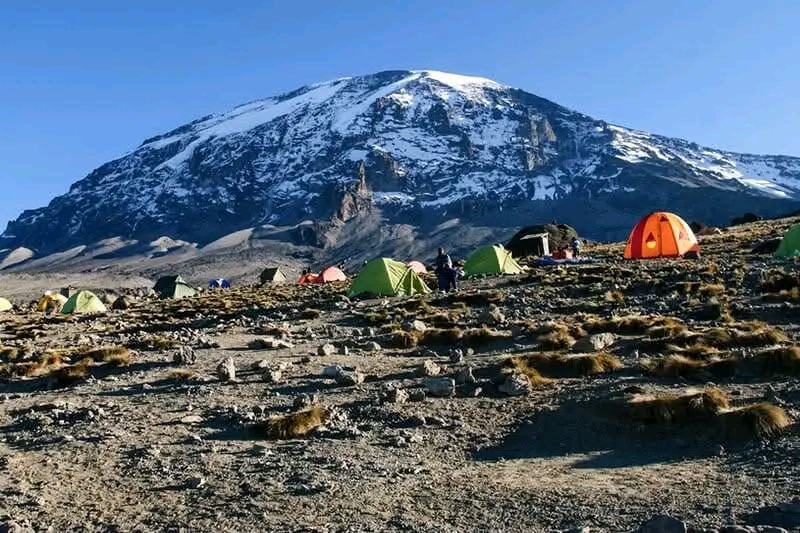
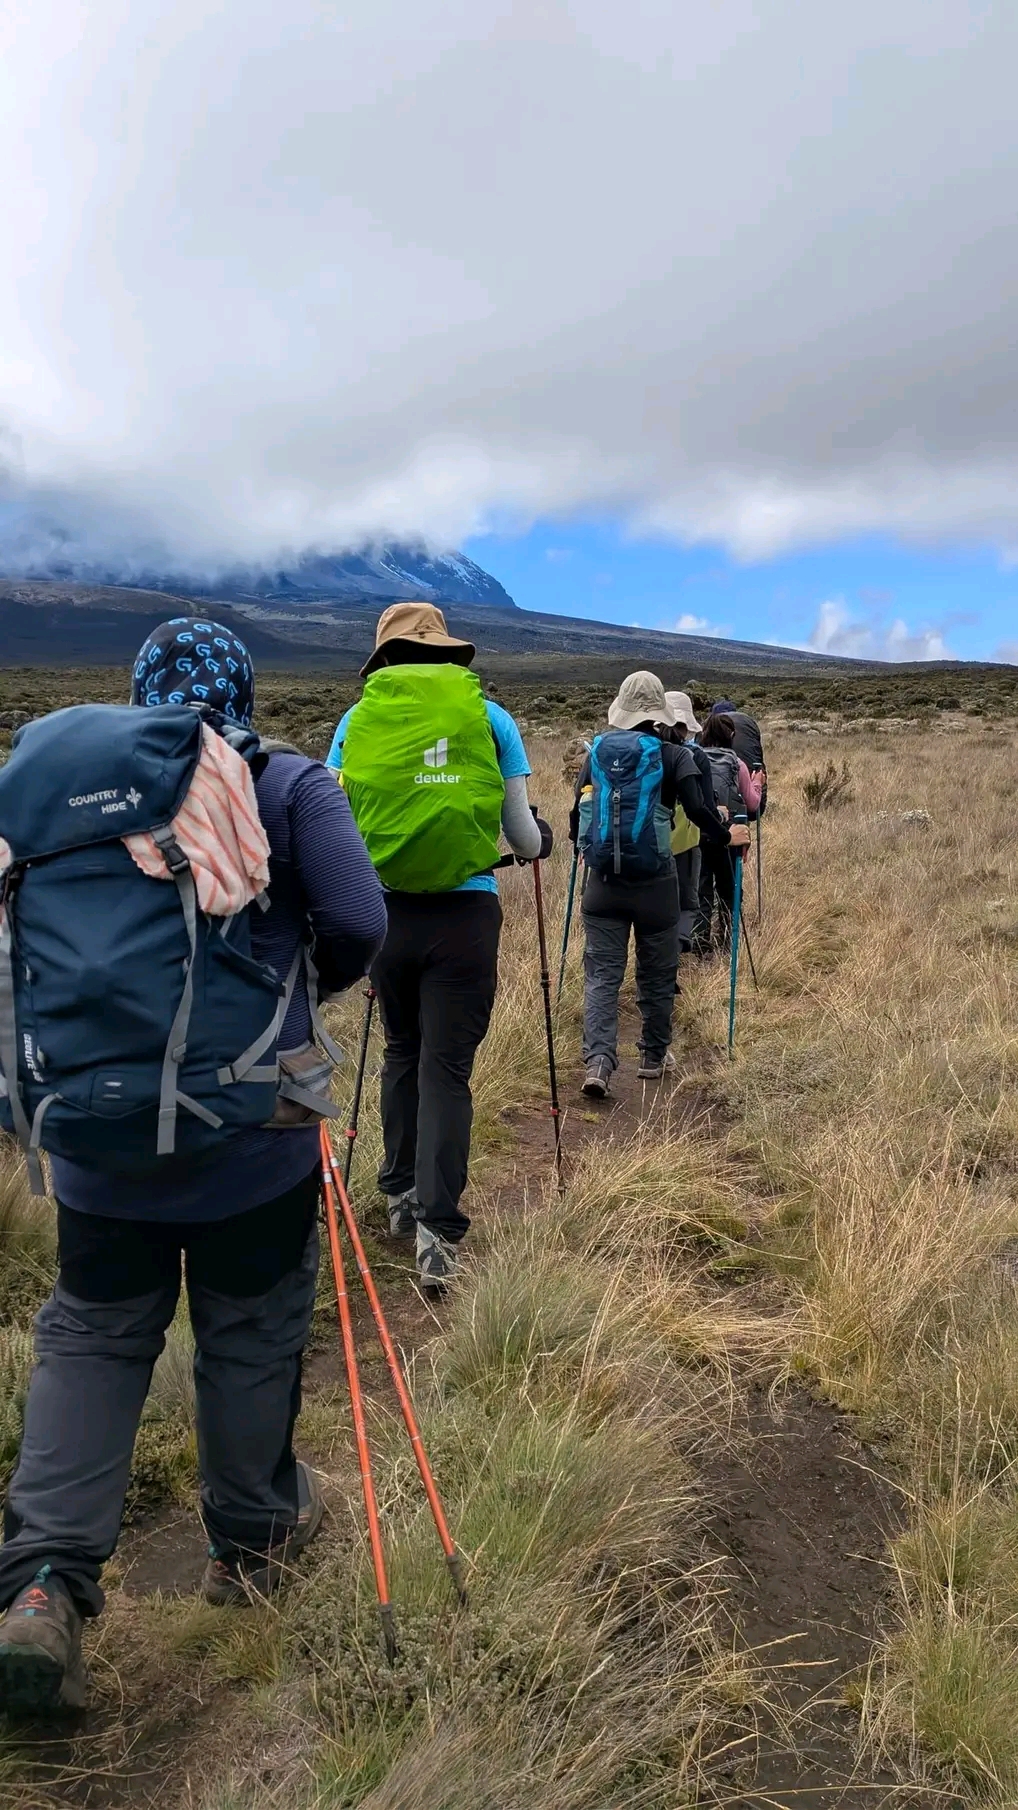
On the second day, you'll rise early for breakfast and begin climbing a slightly steeper gradient through the moorland vegetation zone. Here you will start to get fantastic views of Kibo, the summit cone of Mt. Kilimanjaro, while continuing along a rocky ridge to Shira Plateau. Shira is actually a collapsed volcanic crater and was the first of Kilimanjaro's three volcanic cones to expire. Once on the plateau, the trail becomes a little easier as you make your way to Shira Camp. If it's a clear day, you'll also get to enjoy superb panoramic views.
After breakfast, you will then continue to hike across the rocky ridge onto Shira Plateau, where you will be able to see the easterly side and the western breach with its dramatic glaciers. You are now on the west of Kibo Peak and it will take another short walk before reaching the Shira Two Campsite. Tea/coffee and some nuts will be served to help warm up your body before the main dish of the evening and retiring to sleep. Shira 2 Camp is very exposed and will be much colder with temperatures dropping below freezing point.
Your climb today will take you steadily up and over the expansive ridgelines of the high desert. If time and fitness allow, it would be beneficial to ascend via the Lava Tower as this is a great opportunity to acclimatize. This tower is a 300-foot high volcanic plug and the trek to the base is about 4 hours. Once you have scrambled your way to the top of Lava Tower, you will be rewarded with fabulous panoramic views. From Lava Tower, you will then head North West beginning your circuit of Kibo, the almighty summit cone of Mount Kilimanjaro. An alternative to this route would be to take a gentle ascent across the alpine desert to Moir Hut in the morning and then spend the afternoon on a guided trek of the nearby Lent Group, a series of wind-eroded parasite cones and ridges where you can gaze down to the plains of Kenya. Moir Hut Camp is an isolated and seldom used camp affording views over the Shira Plateau.
Begin the morning trek heading out of the moorland and into the stark alpine desert, on a steep ridge off the main trail, beginning your venture on the Northern Circuit Route. If you chose not to explore the Lent Group yesterday, take a short detour to the top of Little Lent Hill (3,375m/14,350ft) in the morning before regaining the trail to Buffalo Camp.
Proceed onward through valleys and over ridges through the alpine desert and moorland, continuing your circuit to the east. This rarely travelled route allows you to enjoy the vast mountain wilderness in peace.
Climb steadily to reach the Saddle, a lunar landscape between the peaks of Kibo and Mawenzi. From here, continue upwards to reach School Hut Campsite in the early afternoon. The remainder of the afternoon is spent resting and preparing for summit day, which will begin in the early hours of tomorrow morning.
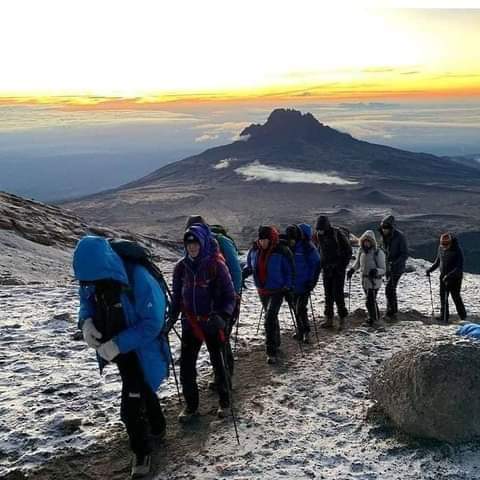
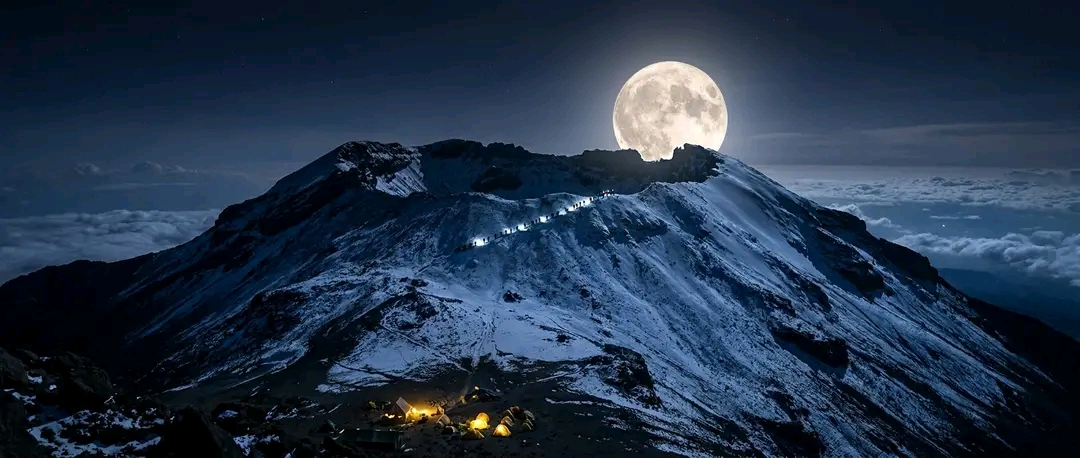
This is where the going gets really tough! Just before midnight, you will venture into the night and begin your final ascent to the summit of Mt Kilimanjaro. Head northwest through the heavy stone scree following multiple switchbacks between Ratzel and Rebmann glaciers until you reach Stella Point (5,685m). This section is probably the most challenging part of the route and will require great physical and mental effort. Continue to move slowly, always listening to your guide.
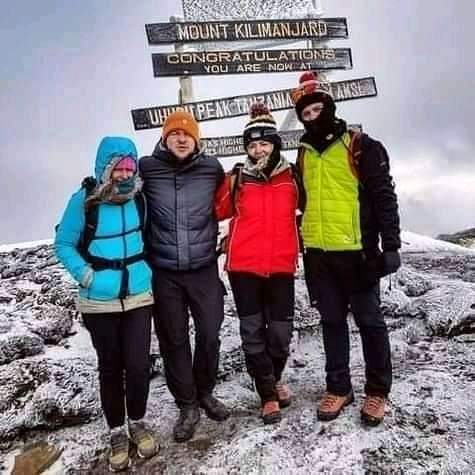
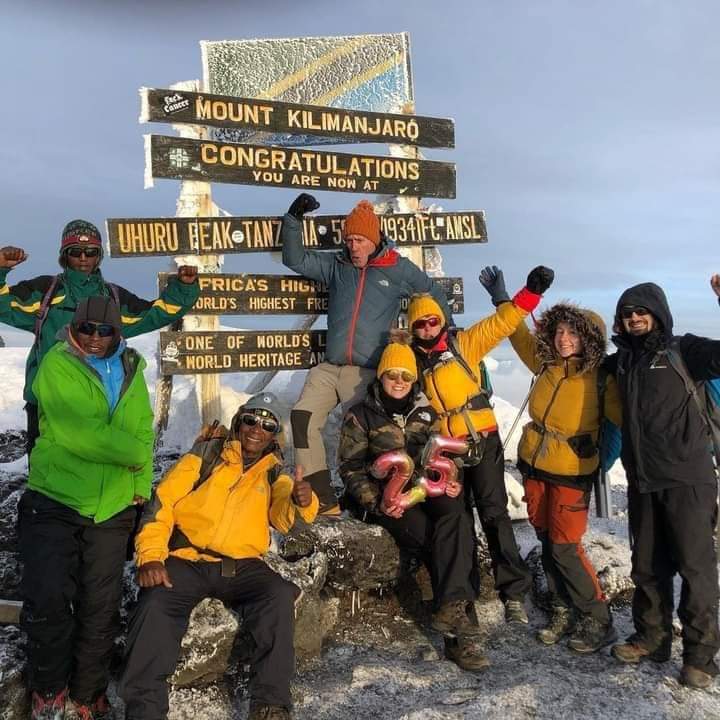
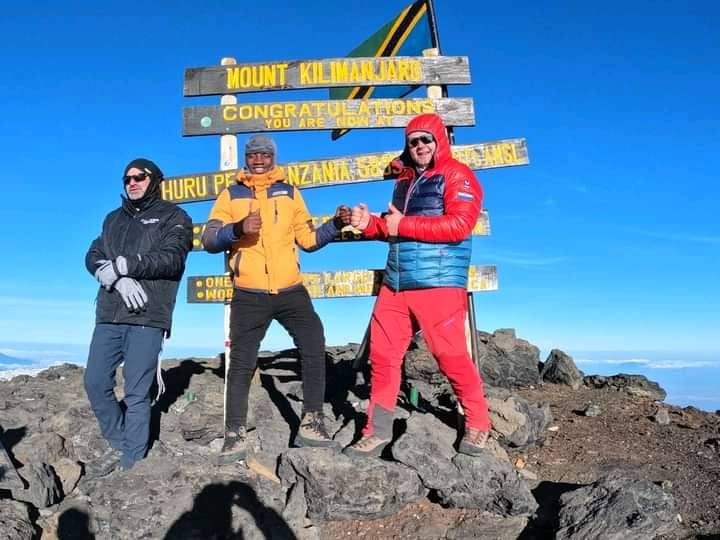
After a short rest at Stella Point, you will hike along the crater rim for another hour before reaching your ultimate goal – Uhuru Peak! Congratulations! You have now made it to the "Roof of Africa". Weather conditions on the summit will determine how long you will be able to spend there, but it is important to start your descent within good time to ensure you get enough rest back at Barafu Camp. After your rest, you'll gather the rest of your belongings and descend to Mweka Hut (3,100m) where you'll enjoy dinner and a well-earned sleep!
After eating breakfast, you will begin the easiest part of your adventure on Mount Kilimanjaro via a scenic path through the forest to Mweka Gate. Successful hikers who made it to Stella Point and Uhuru Peak will be awarded their certificates at the gate. Then it's time to drive back to your hotel to enjoy a shower, dinner and celebrations with a Kilimanjaro beer!

 Issy Adventures